Planning Your Project: Tiles, Tools, and Materials
Learning how to install stone tile backsplash in kitchen is a rewarding DIY project that brings beauty, protection, and value to your home. While it’s an intermediate-level project, this guide will walk you through each step to achieve a professional look.
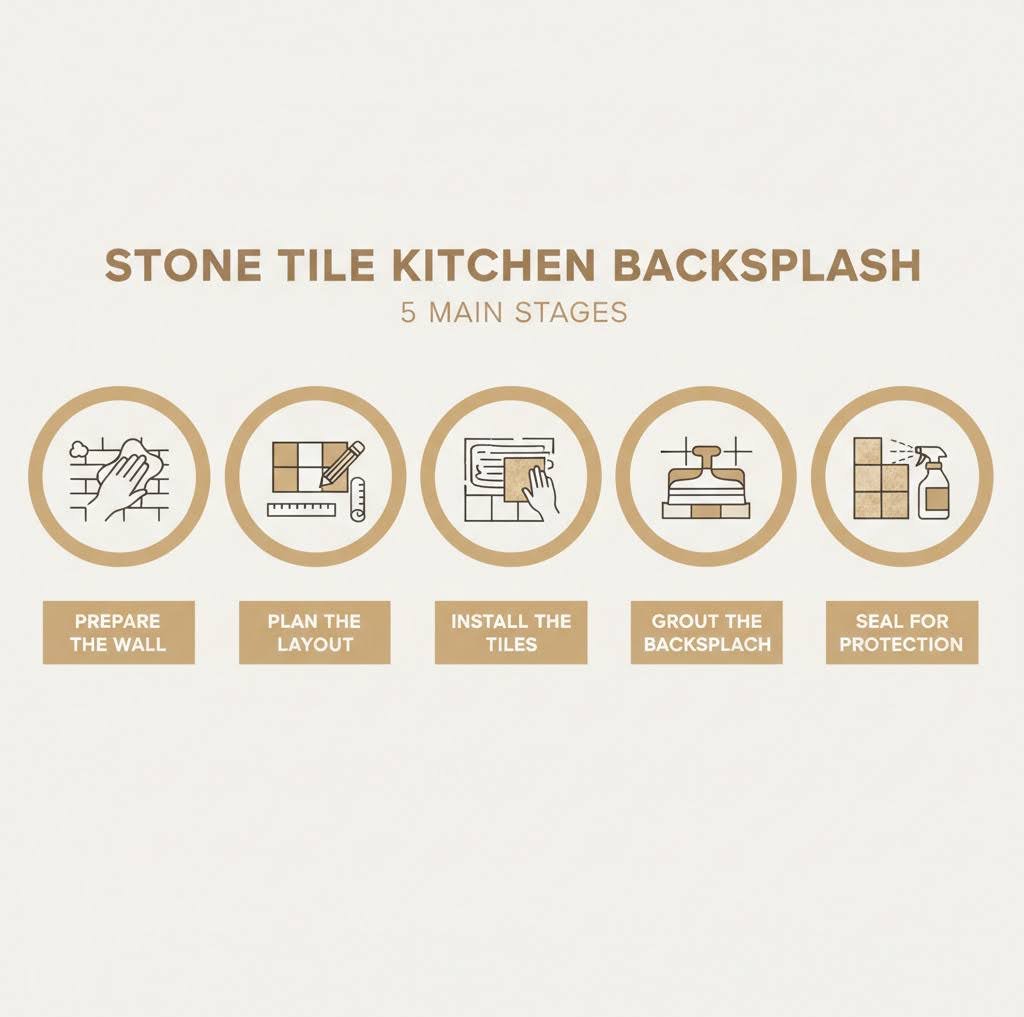
Here are the key steps:
-
Prepare the Wall: Clean the surface and make any necessary repairs.
-
Plan the Layout: Dry-fit your tiles to map out the design.
-
Install the Tiles: Apply adhesive and set each stone tile.
-
Grout the Backsplash: Fill the gaps between tiles.
-
Seal for Protection: Guard your natural stone against stains.
As Tomasz Bielec, owner of Illinois Stucco, I’ve guided countless homeowners through this process. With our premium European tiles and expertise, you’re set to create a stunning focal point in your kitchen.
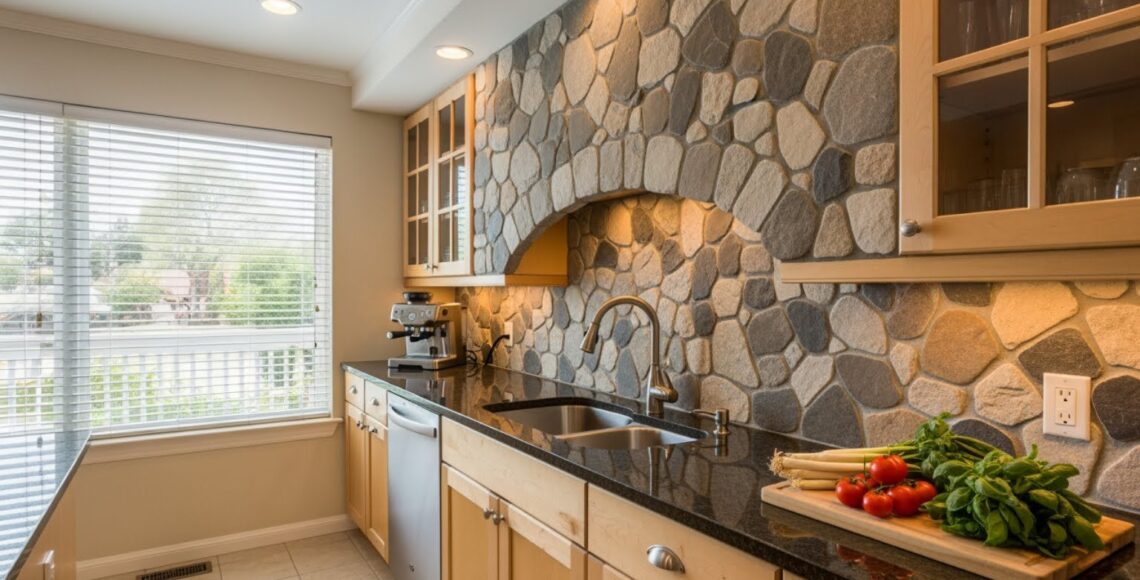
Stone backsplashes are incredibly durable, protecting your walls from moisture and grease, and their unique, organic beauty can lift your kitchen. Each piece of stone has distinct patterns, ensuring your backsplash is one-of-a-kind.
Popular natural stone types include:
-
Marble: Known for luxurious veining, it adds elegance but requires diligent sealing.
-
Travertine: Offers a rustic, old-world feel with its earthy tones and textured surface. It also needs sealing to prevent staining.
-
Slate: A durable metamorphic rock with a distinct layered texture and rich, dark color variations.
-
Sandstone: Provides a warm, cozy look with its granular texture and natural color palette.
For a similar look with lower maintenance, consider Stone Style Porcelain Tiles.
When choosing a design, you can match your countertop for a cohesive look or use a contrasting stone to create a focal point. A lighter backsplash can balance dark countertops, while a bold backsplash can stand out against a simple countertop. For more ideas, explore our Splash of Style: Backsplash Tile Ideas for Kitchens and Bathrooms.
Essential Tools and Materials for Installation
Gathering all your tools and materials first is crucial. Here’s a list of what you’ll need to tackle how to install stone tile backsplash in kitchen:
-
Safety Goggles: Essential for eye protection.
-
Measuring Tape and Pencil: For precise measurements.
-
Level (2-4 ft): To ensure your tiles are perfectly straight.
-
Notched Trowel: For even adhesive application.
-
Wet Tile Saw or Angle Grinder: A wet saw is recommended for clean cuts on stone tiles.
-
5-Gallon Buckets: For mixing mortar and grout.
-
Sponges: For cleaning excess mortar and grout.
-
Rubber Grout Float: For applying grout into tile joints.
-
Tile Spacers: To maintain consistent spacing.
-
Heavy-Duty Thin-Set Mortar: Essential for heavy stone tiles.
-
Grout (Sanded or Unsanded): Check manufacturer’s recommendations for your stone.
-
Natural Stone Sealer: Crucial for protecting porous stone.
-
Caulk Gun and Caulk: For sealing expansion gaps.
-
Utility Knife or Wood Chisel & Hammer: For small adjustments.
-
Mud/Paint Mixer (with corded drill): For mixing mortar and grout.
-
10% Extra Tile: Always purchase extra to account for cuts and mistakes.
Preparing for Perfection: Wall Prep and Layout Design
Proper wall preparation is the foundation of a lasting, professional-looking backsplash. Rushing this step can lead to tiles that don’t stick or an uneven finish.
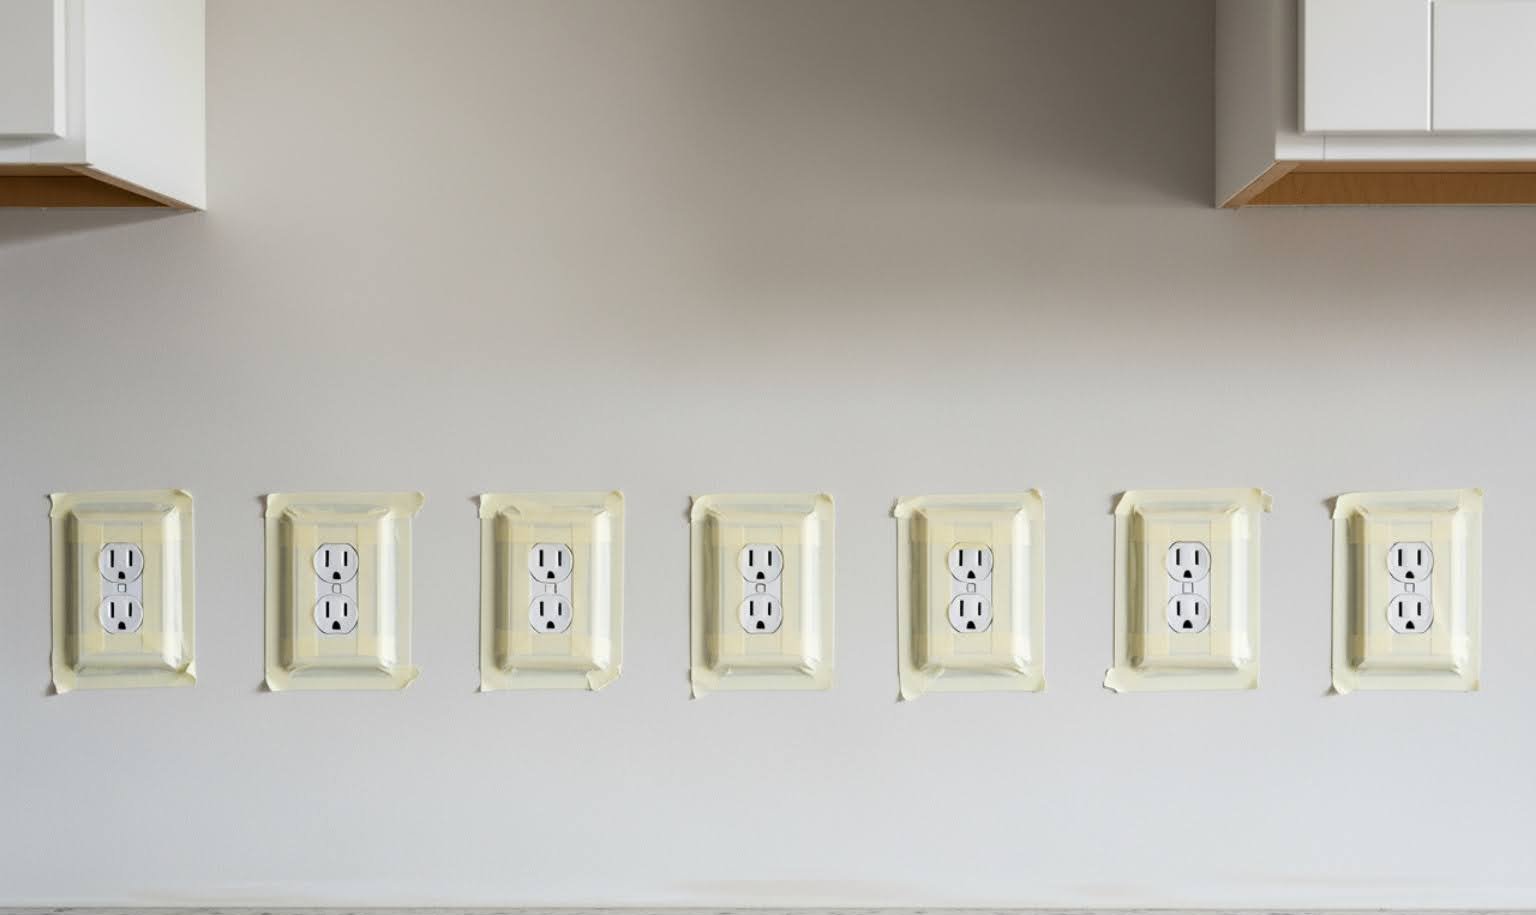
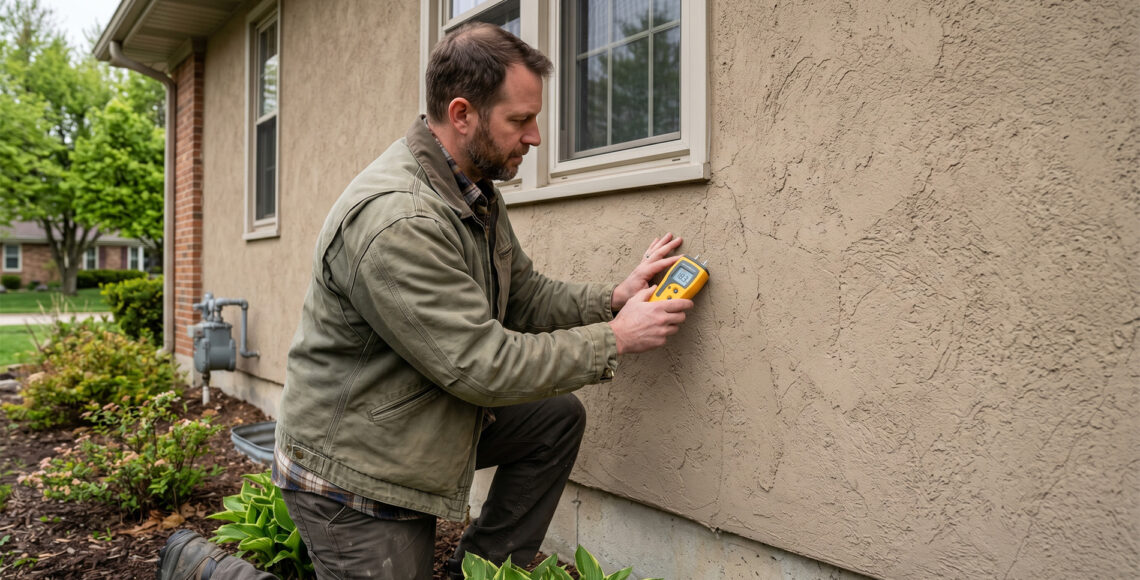
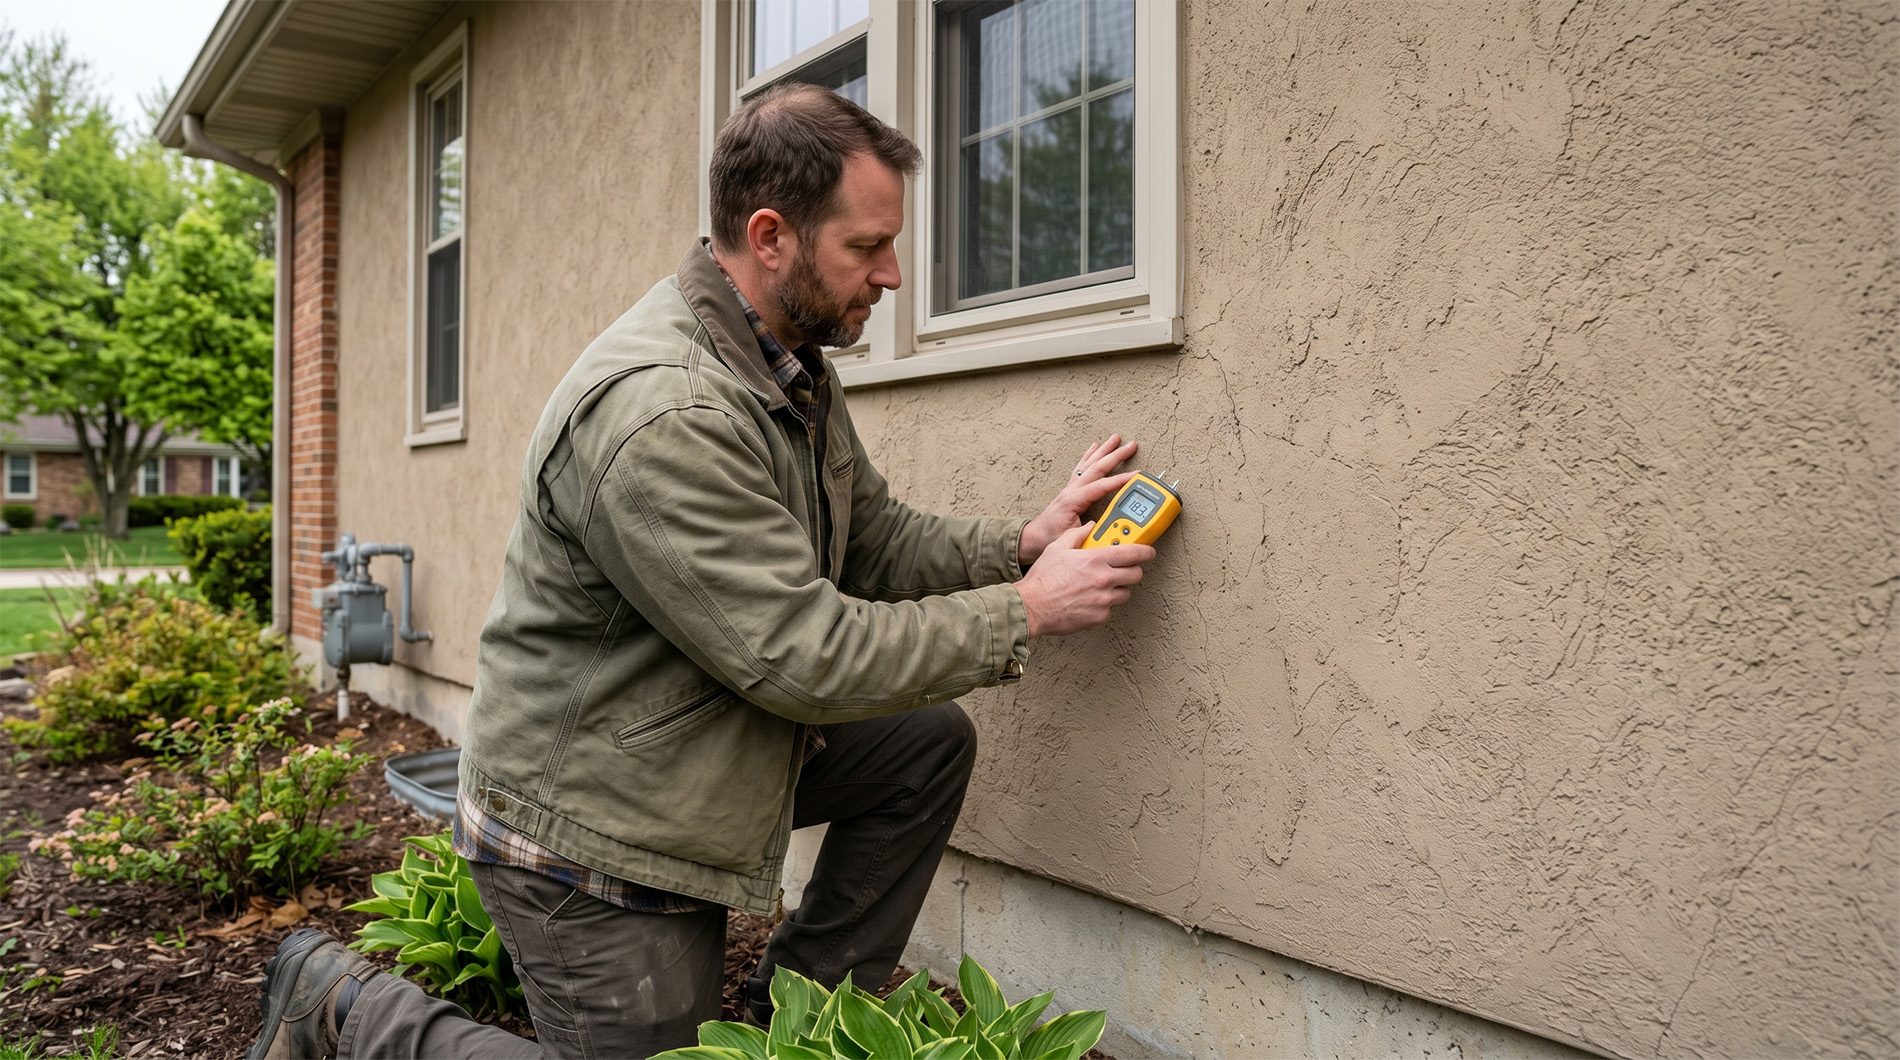
First, ensure safety by turning off the power to kitchen outlets at the breaker box and removing all outlet covers. Next, give the wall a thorough scrub with a degreaser to remove any grime that could prevent the mortar from bonding. Once dry, inspect the wall for holes or cracks. Fill these with spackling compound, let it dry, and sand the entire surface smooth. The wall should feel flat and even, as bumps will show through the finished backsplash. Check if your tile manufacturer recommends priming the wall for better adhesion.
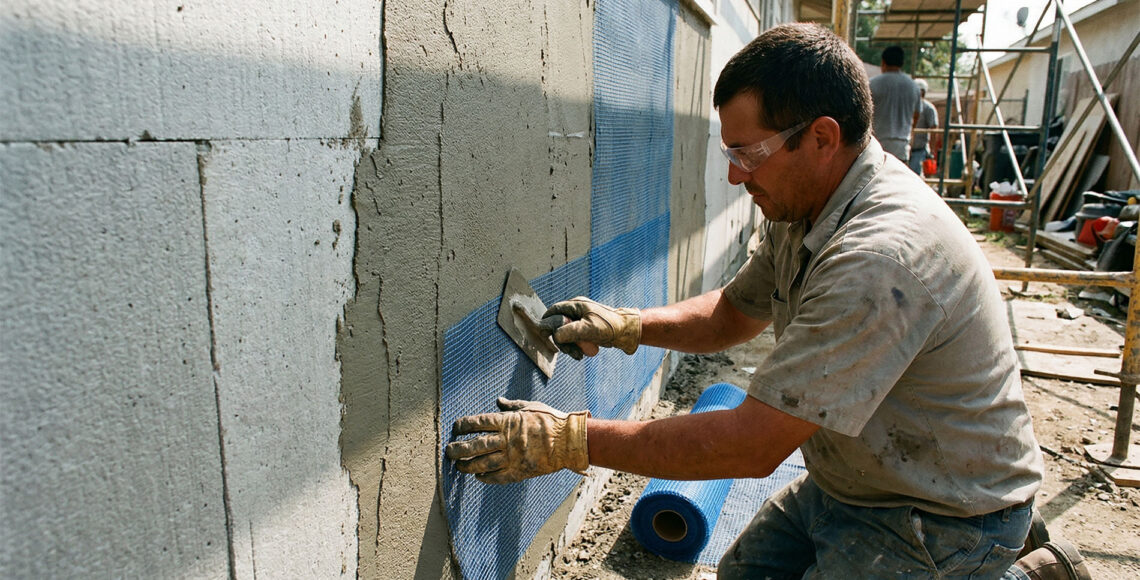
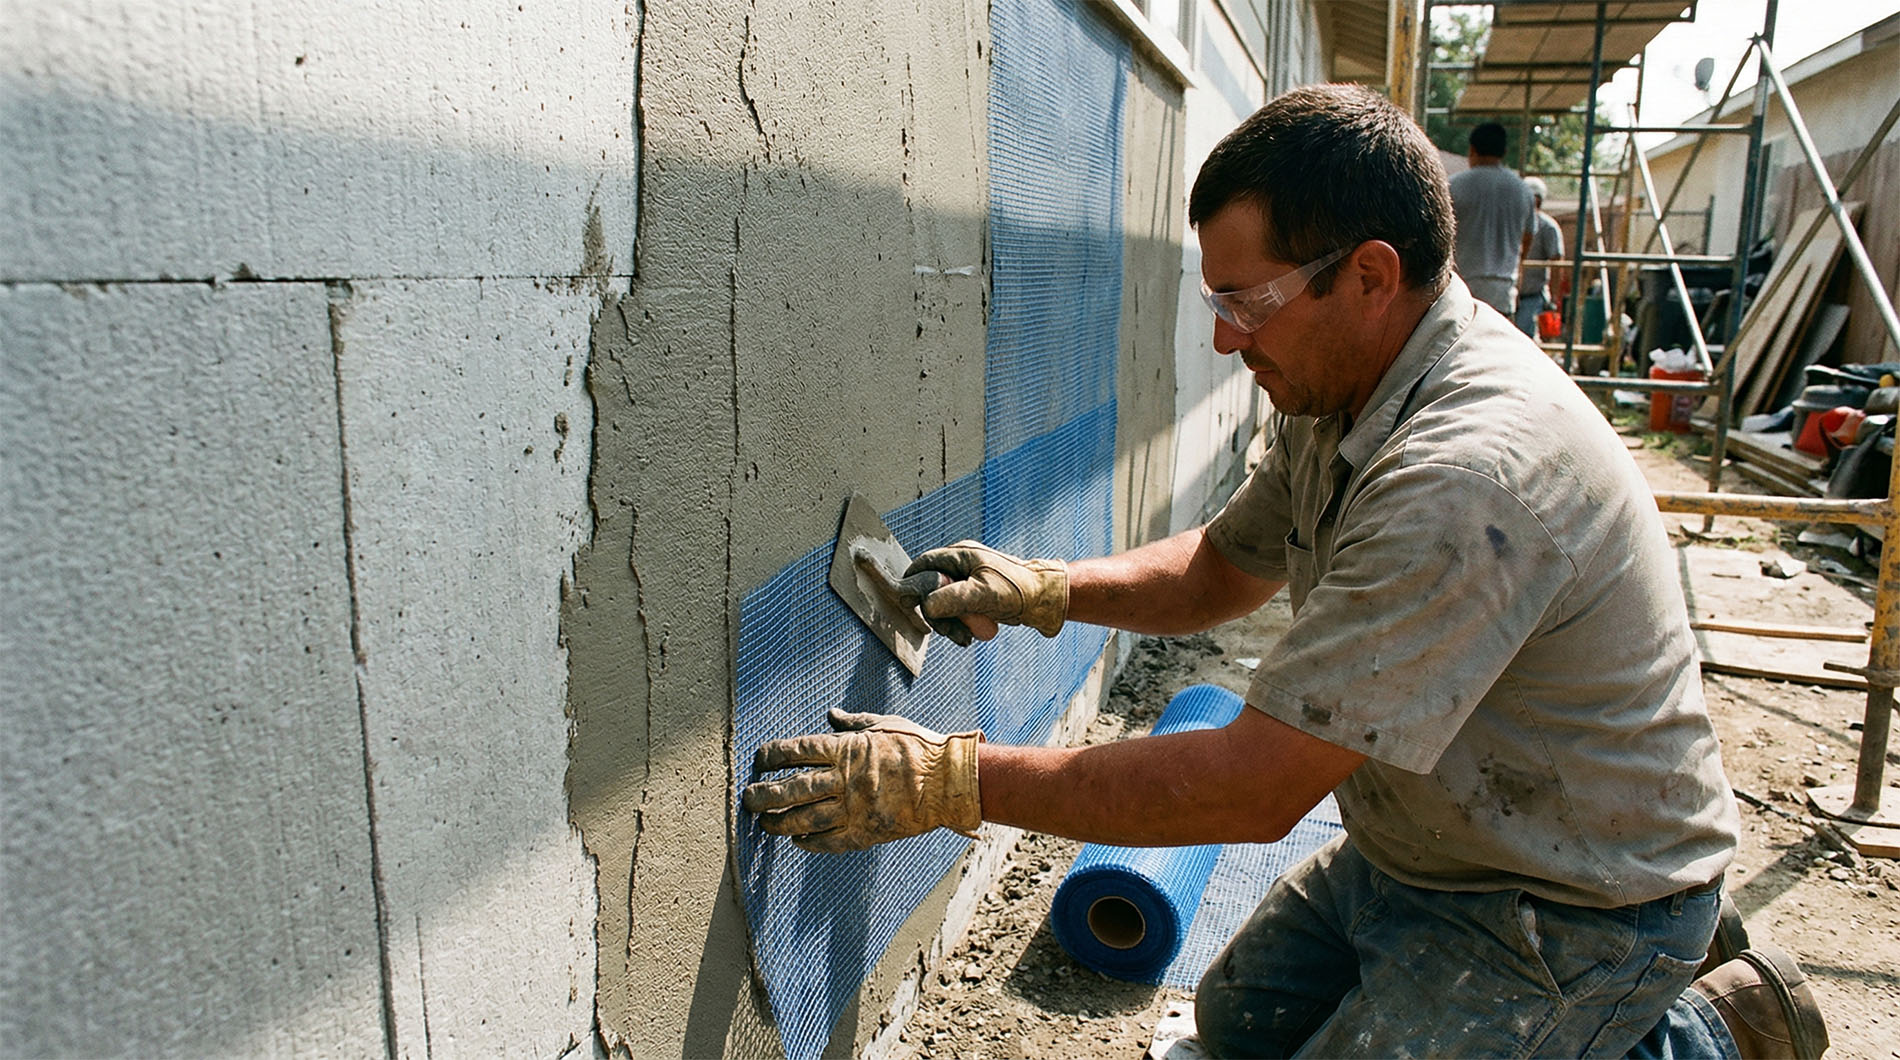
Can you tile over an existing backsplash? Yes, if the old tile is firmly attached, level, and clean. You’ll need to roughen the surface with coarse sandpaper to create a grip for the new mortar. However, for heavy stone panels (like ledger stone), we strongly recommend removing the old tile and installing cement backer board. Drywall isn’t designed for that weight, and cement board provides a solid, moisture-resistant foundation. For more design inspiration, see our European Kitchen Design gallery.
How to Create the Perfect Layout and Pattern
Before mixing any mortar, dry-fit your tiles on a flat surface. This crucial step helps you visualize the final look, confirm you have enough tile, and plan your cuts. Find your center focal point, such as the area behind the stove, and plan your layout to radiate from there. Pay special attention to planning around outlets to avoid awkward, narrow slivers of tile. Aim for symmetrical cuts on both sides of electrical boxes.
For patterns, the classic staggered bond (or brick pattern) is forgiving for beginners. A herringbone pattern can create a stunning zigzag effect. Browse our Kitchen Tile Design page for more ideas.
A pro tip is to use a ledger board for support. Since countertops are rarely perfectly level, a straight piece of wood temporarily screwed to the wall provides a perfectly level guide for your first row of tiles. Finally, mark horizontal and vertical guidelines on your wall with a pencil or chalk line to help you stay aligned as you work. With your wall prepped and layout planned, you’re ready to start installing.
The Main Event: How to Install Stone Tile Backsplash in Kitchen
Now for the exciting part: seeing your vision come to life. Installing your stone tile backsplash is an intermediate DIY project, but with patience and attention to detail, you can achieve amazing results. This isn’t a race; a typical backsplash takes at least two days to allow for drying time. Work in small sections to prevent your mortar from drying out too quickly. For general tiling advice, check out our helpful guide on How to Install a Tile Backsplash (And Avoid Beginner Mistakes).
Step 1: Cutting Stone Tiles for a Perfect Fit
Cutting stone tiles is manageable with the right tools. The best method for cutting stone is a wet tile saw, which uses water to cool the blade, reducing dust and preventing chips for clean, professional cuts. Always wear your safety goggles. For tricky spots like outlets, you can make L-cuts by making a few straight cuts with the wet saw. Remember the golden rule: measure twice, cut once! After cutting, you may notice rough edges. Gently deburr cut edges with a metal file for a smoother, more finished look.
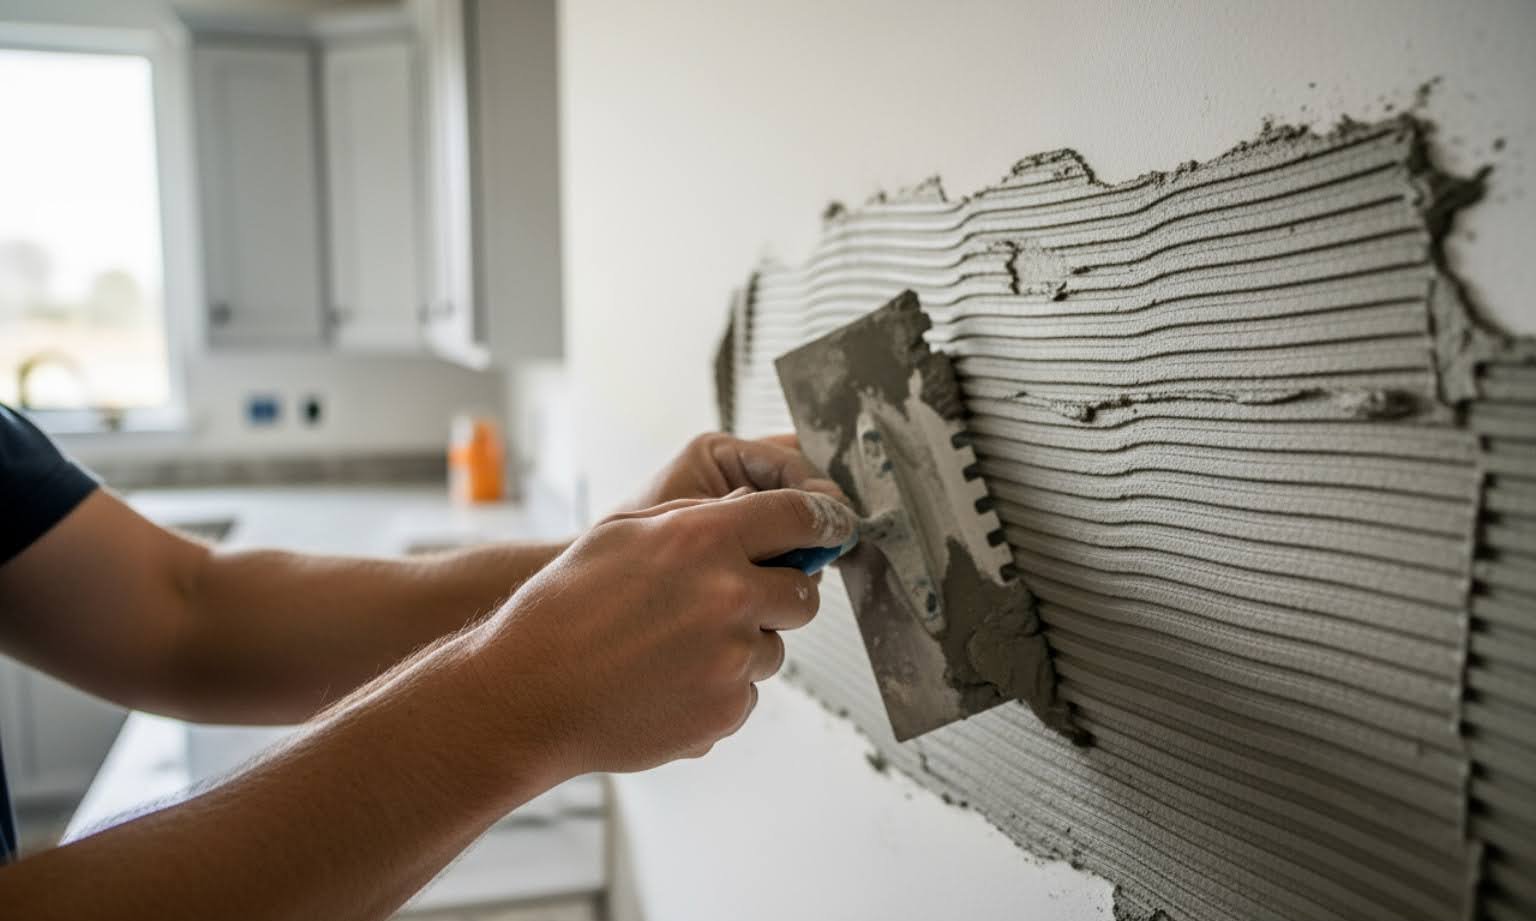
Step 2: Applying Mortar and Setting Your Tiles
It’s time to stick the tiles to the wall. Mix thin-set mortar according to the manufacturer’s instructions to a “creamy peanut butter” consistency. Only mix small batches at a time, as it dries quickly. Using your notched trowel, apply mortar to a small section of the wall (2-3 square feet). Hold the trowel at a 45-degree angle to create consistent ridges. For heavier stone tiles, it’s a good idea to “back-butter” each tile by spreading a thin layer of mortar on the back before placing it on the wall for a stronger bond. Press tiles into the mortar with a slight twisting motion to ensure a solid hold. For more details on thin-set, see our Large Format Tile Thinset: Complete Guide.
Step 3: How to Ensure Consistent Spacing and Alignment
Consistency is key to a professional look. Your level ledger board is the perfect guide for starting the first row. As you place each tile, use tile spacers to maintain uniform gaps for even grout lines. Regularly check alignment horizontally and vertically with your level, and step back occasionally to eyeball your work. Clean any excess mortar that squeezes out between tiles immediately with a damp sponge. Once all tiles are set, you must wait. The mortar needs to cure, so allow 24 hours to dry before grouting. This waiting period is critical for a permanent bond.
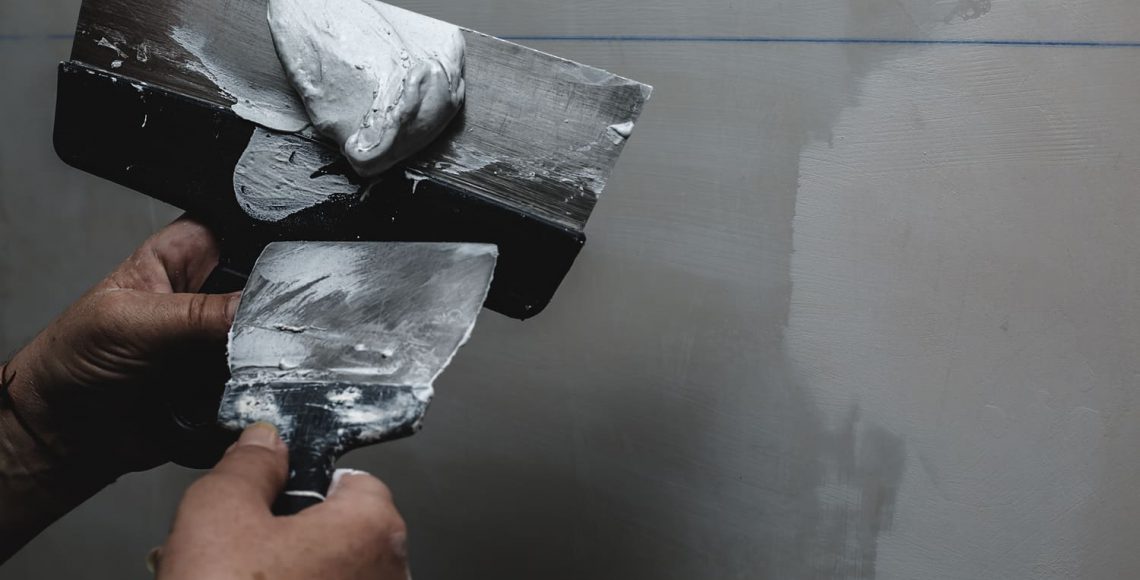
Finishing Like a Pro: Grouting, Sealing, and Long-Term Care
These final steps are essential for protecting your beautiful new backsplash. Grouting and sealing act as armor against everyday kitchen life, separating a good DIY project from a professional installation. For more inspiration, explore Cooking in Style: Transforming Your Kitchen with Porcelain Tile Designs.
The Grouting and Sealing Process
A crucial tip: seal porous stone before grouting. Natural stone like marble or travertine can absorb grout pigments, causing permanent stains. Apply a natural stone sealer according to the manufacturer’s instructions and let it cure completely. This pre-seal creates a protective barrier.
When mixing grout, aim for a thick toothpaste consistency and work in small batches. Use a rubber grout float to apply grout, spreading it across the tile surface at a 45-degree angle. Press firmly and work diagonally to fill all joints completely, avoiding air pockets.
After grouting a small section, begin cleanup. Use a damp (not wet) sponge to remove excess grout, wiping diagonally across the tiles to avoid pulling grout from the joints. Rinse your sponge frequently. After the grout firms up (15-30 minutes), you’ll notice a whitish film called grout haze. You can clean grout haze by buffing the tiles with a clean, dry cloth once the grout has dried a bit more.
The grout curing time is critical, typically 24 to 72 hours. Don’t rush it. Once fully cured, it’s time for applying a final coat of sealer to both the stone and the grout lines for protection against water and stains. The final touch is caulking expansion gaps where the backsplash meets the countertop and in corners with a flexible, waterproof caulk.
Cleaning and Maintaining Your Stone Backsplash
Maintaining your stone backsplash is simple. For daily cleaning, use a soft cloth and warm water to wipe down splashes. For tougher messes, use pH-neutral cleaners specifically for natural stone. Avoid acidic or harsh chemicals (lemon, vinegar, bleach) and abrasive cleaners, as they can etch or scratch the stone. The most important rule is to wipe up spills immediately, especially acidic substances like wine or tomato sauce.
Stone requires periodic re-sealing. Plan on stone re-sealing every 6-12 months and grout re-sealing every 1-2 years to maintain protection. Some textured stones may experience spalling (minor flaking) for the first few months; this is a natural process as the stone acclimates and will stop on its own. With proper care, your backsplash will remain a stunning focal point for years.
Frequently Asked Questions about Stone Backsplash Installation
Taking on a project like how to install stone tile backsplash in kitchen can bring up questions. We want you to feel confident, so let’s tackle some common concerns.
How long does it take to install a stone tile backsplash?
Plan for typically 2-4 days from start to finish. This timeline accounts for crucial drying and curing periods.
-
Day 1: Prep and Installation. This day is for preparing walls, cutting tiles, and setting them in place. Afterward, allow a full 24-hour drying time for the mortar to cure.
-
Day 2: Grouting. Once the mortar is hard, you can fill the joints with grout. The grout then needs its own 24-72 hour curing time, depending on the product and humidity.
-
Day 3-4: Finishing. This final stage involves sealing the stone and grout, reinstalling outlet covers, and final cleanup.
The hands-on work might only take a weekend, but patience during drying times is essential for a durable result.
Can a stone backsplash be installed over existing tile?
Yes, if the existing surface is level, clean, and structurally sound. If your current tile is firmly attached and the surface is flat, you can proceed. You must scuff sand the old tile to roughen the glossy surface, which helps the new thin-set mortar adhere properly.
However, for heavy ledger stone panels, removing old tile and installing cement board is recommended. Standard drywall cannot support that much weight. A cement backer board provides the necessary structural integrity for a long-lasting installation.
What are the most common mistakes to avoid?
Knowing the common pitfalls can help you avoid them. Here are the top mistakes we see:
-
Improper wall preparation: Rushing through cleaning, patching, or leveling the wall leads to poor adhesion and can cause tiles to fail later.
-
Not dry-fitting the layout: Skipping this step can lead to awkward cuts and pattern issues that are permanent once the tile is set. A dry layout helps you finalize your design and plan cuts.
-
Using the wrong adhesive: Stone tiles are heavy and require a heavy-duty thin-set mortar formulated for natural stone, not standard tile mastic.
-
Not sealing porous stone before grouting: This is a critical error. Natural stone can absorb grout pigment, causing permanent stains. Always apply a pre-grout sealer.
-
Grouting too soon: Mortar needs a full 24 hours to cure. Grouting before the mortar is fully set can compromise the bond between the tile and the wall.
Conclusion
You now have the knowledge for how to install stone tile backsplash in kitchen, from planning and prep to tiling, grouting, and sealing. The keys to success are simple: proper preparation, patience, and protection of your finished work. A new stone backsplash is a rewarding journey that adds lasting value and beauty to your home.
At Illinois Stucco, we believe your kitchen should be a place of inspiration. If you’re planning a Kitchen Renovation and need premium materials or expert guidance, our specialists are ready to help. We’ll assist you in selecting European tiles that reflect quality and craftsmanship. Visit us in Chicago, IL. Let us help you bring your dream kitchen to life and discover your perfect kitchen tile design!